Please consider supporting us by disabling your ad blocker. Thank you for your support.
Please consider supporting us by disabling your ad blocker.
Learn OpenCV by Building a Document Scanner
OpenCV is a library written in C++ aimed to provide an infrastructure for computer vision and machine learning. The library contains more than 2500 algorithms that are used for facial detection, gesture recognition, augmented reality, tracking moving objects, identifying objects, etc.
In this tutorial, we will create a simple document scanner using the OpenCV library. This can be useful, for example, for scanning pages in a book.
This is a beginner tutorial so I will explain in detail each line of code so that you can follow along with me.
The steps that we need to follow to build this project are:
- Convert the image to grayscale
- Find the edges in the image
- Use the edges to find all the contours
- Select only the contours of the document
- Apply warp perspective to get the top-down view of the document
Setup
So let's get started. Open a new terminal and create a directory and the necessary packages:
mkdir document-scanner
cd document-scanner

python3 -m venv venv
source venv/bin/activate
pip install imutils
pip install scipy # needed for the imutils package
pip install opencv-python
Let's check the version of OpenCV by running the command below:
$ python3
>>> import cv2
>>> print(cv2.__version__)
4.5.2
Ok great! We are now ready to start writing some code.
Load the Image
Create a new file inside the document-scanner directory, name it scanner.py and put the following code:
from imutils.perspective import four_point_transform
import cv2

height = 800
width = 600
green = (0, 255, 0)

image = cv2.imread("input/2.jpg")
image = cv2.resize(image, (width, height))
orig_image = image.copy()
We start by importing the OpenCV library and the four_point_transform helper function from the imutils package.
This function will help us perform a 4 point perspective transform to obtain the top-down view of the document.
Next, we set the height and width of the image so that we can resize it, and we also create the green variable for the contour display later on.
To load an image with OpenCV we use the cv2.imread() function, it takes the path of the image as an argument.
Note that this function doesn't throw an error if the image path is wrong, it will simply return None.
To resize the image, we use the cv2.resize() function for that. The first argument is the image we want to resize, and the second is the width and height of the new image.
The function has a third argument which defines the algorithm used for the resizing (the default one is cv2.INTER_LINEAR). Check the documentation for the other options.
Lastly, we take a copy of our image. This will allow us later to display the contours of the document on the original image rather than the modified image.
Related article: How to Crop Images with OpenCV and Python

Image Processing
Now we start preprocessing our image by converting it to grayscale, blurring it, and then finding the edges in the image. Let's see how to do it:
gray = cv2.cvtColor(image, cv2.COLOR_BGR2GRAY) # convert the image to gray scale
blur = cv2.GaussianBlur(gray, (5, 5), 0) # Add Gaussian blur
edged = cv2.Canny(blur, 75, 200) # Apply the Canny algorithm to find the edges

# Show the image and the edges
cv2.imshow('Original image:', image)
cv2.imshow('Edged:', edged)
cv2.waitKey(0)
cv2.destroyAllWindows()
Now that our image is loaded we start by converting it from the RGB color to grayscale.
Next, to remove noise from the image, we smooth it by using the cv2.GaussianBlur function. The first argument is the image we want to blur. The second argument is the width and height of the kernel which must be positive and odd.
The last argument is the standard deviation. If we set it to 0, OpenCV calculates it from the kernel size.
Lastly, we apply the so-know Canny edge detector. This is a multi-stage algorithm that is used to remove noise and detect edges in the image.
The first argument is our input image. The second and third arguments are the thresholds that the algorithm uses to determine the edges and non-edges in the image.
We used the cv2.imshow function to display our images in a window.
The cv2.waitKey(delay) function will wait for a pressed key for delay milliseconds if delay is positive. Otherwise, it will wait infinitely for a pressed key.
The cv2.destroyAllWindows() function simply destroys all the windows we created.
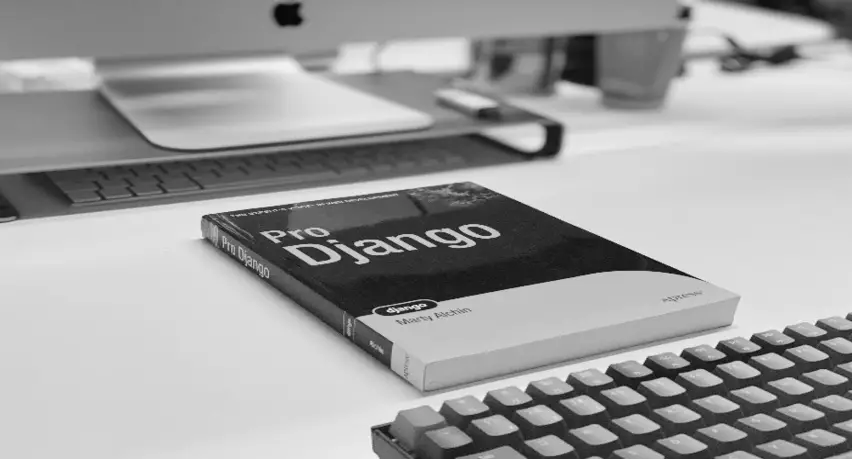
Below you can see the output that we get (you can find the image in the repository):

Below you can see different transformations of an image:
Original image:

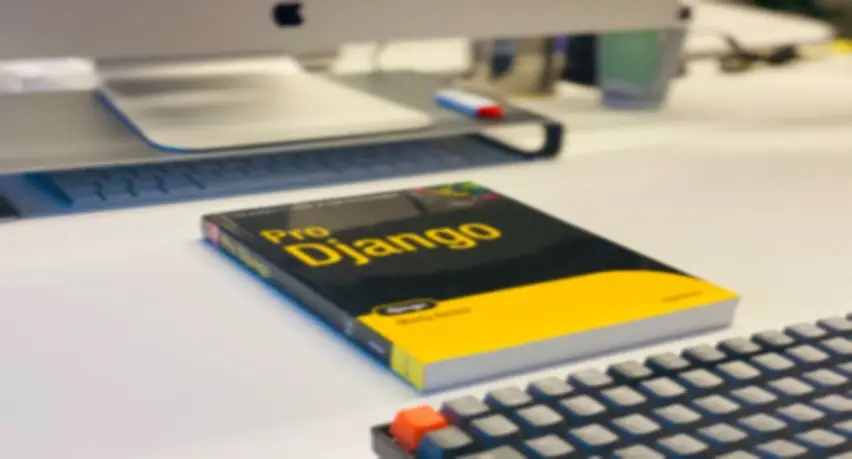
Convert the RGB color to grayscale:
Blurring the image using GaussianBlur function with a (9, 9) kernel size:
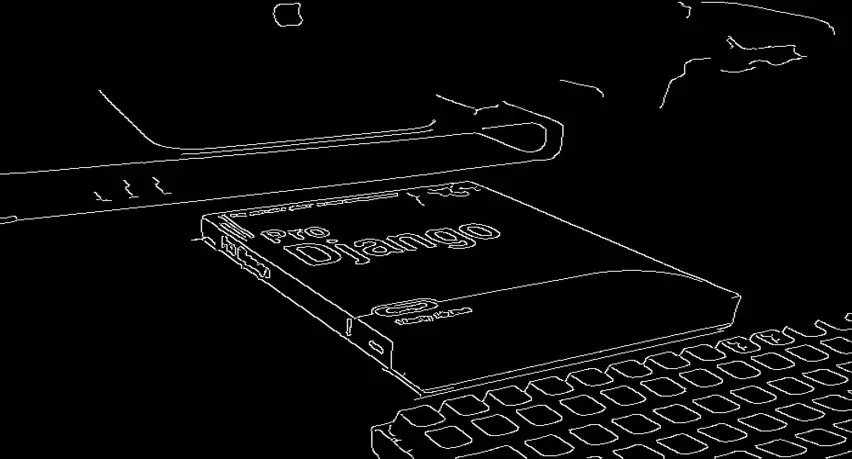
Applying Canny edge detector:
Use the Edges to Find all the Contours
Now we can use our edged image to find all the contours.
# If you are using OpenCV v3, v4-pre, or v4-alpha
# cv2.findContours returns a tuple with 3 elements instead of 2
# where the `contours` is the second one
# In the version OpenCV v2.4, v4-beta, and v4-official
# the function returns a tuple with 2 element
contours, _ = cv2.findContours(edged, cv2.RETR_LIST, cv2.CHAIN_APPROX_SIMPLE)
contours = sorted(contours, key=cv2.contourArea, reverse=True)

# Show the image and all the contours
cv2.imshow("Image", image)
cv2.drawContours(image, contours, -1, green, 3)
cv2.imshow("All contours", image)
cv2.waitKey(0)
cv2.destroyAllWindows()
To find the contours on the image we apply the cv2.findContours function. This function takes three arguments, the first one is the source image.
The second parameter is the contour retrieval mode. Here we are using cv2.RETR_LIST to retrieve all the contours. Please refer to the documentation for the other options.
The last argument represents the contour approximation method. For example, if we set it to cv2.CHAIN_APPROX_NONE, the function will store all the (x, y) coordinates of a contour. But do we really need that?
For example, for a rectangle contour, we only need 4 points.
That's why we used the cv2.CHAIN_APPROX_SIMPLE. This will allow us to save memory by keeping only the important points.
Note that since OpenCV 3.2 this function does not change the source image.
The drawContours function allows us to draw contours on an image. The first argument is the source image, then we need to pass it the contours that we want to draw.
The third argument is to indicate which contour we want to draw, a negative value means draw all the contours.
The fourth parameter is the color of the contour and the fifth one is the thickness.
Let's see what we get so far:

Cool! Let's keep going.
Select Only the Edges of the Document
Now we need to find the biggest rectangle contour in the image that will define our document. Here is how to do it:
# go through each contour
for contour in contours:
    # we approximate the contour
    peri = cv2.arcLength(contour, True)
    approx = cv2.approxPolyDP(contour, 0.05 * peri, True)
    # if we found a contour with 4 points we break the for loop
    # (we can assume that we have found our document)
    if len(approx) == 4:
        doc_cnts = approx
        break
Here we use the cv2.arcLength function to compute the perimeter of the contour. It takes as first argument the contour, and the second argument is just a boolean to tell the function whether the contour is closed or not. True means that the contour is closed.
Then we use the cv2.approxPolyDP function to get the approximation of the contour with another contour with fewer vertices.
This function takes 3 arguments: the first one is the contour we want to approximate, and the second argument is to specify the approximation accuracy. In our case, we are approximating the contour with an accuracy that is proportional to the contour perimeter (0.05 * perimeter).
The last argument is a boolean to specify whether the approximated contour is closed or not.
Finally, we check if the approximated contour has four point. If so, we can assume with confidence that we have found our document (we break the for loop).
You can start to see the limits of this algorithm ...
For example, If we use a document that is not a rectangle, our technique wouldn't work.
Apply Warp Perspective to Get the Top-Down View of the Document
Now we are ready to apply the four_point_transform function to get the top-down view:
# We draw the contours on the original image not the modified one
cv2.drawContours(orig_image, [doc_cnts], -1, green, 3)
cv2.imshow("Contours of the document", orig_image)
# apply warp perspective to get the top-down view
warped = four_point_transform(orig_image, doc_cnts.reshape(4, 2))
# convert the warped image to grayscale
warped = cv2.cvtColor(warped, cv2.COLOR_BGR2GRAY)
cv2.imshow("Scanned", cv2.resize(warped, (600, 800)))
cv2.waitKey(0)
cv2.destroyAllWindows()
Basically, the four_point_transform function takes an image and a contour as input and returns the top-down view of the image.
If you want to learn more about this function, I recommend this great tutorial from pyimagesearch.
Here is what we get:

Bonus
As a gift for you, I built a simple program that will loop over a directory (named input), find images in that directory, and apply the technique we saw in this tutorial to get the top-down view of each document and put it in a new directory (named output).
from pathlib import Path
import os

# ...

valid_formats = [".jpg", ".jpeg", ".png"]
get_text = lambda f: os.path.splitext(f)[1].lower()

img_files = ['input/' + f for f in os.listdir('input') if get_text(f) in valid_formats]
# create a new folder that will contain our images
Path("output").mkdir(exist_ok=True)

# go through each image file
for img_file in img_files:
    # read, resize, and make a copy of the image
    img = cv2.imread(img_file)
    img = cv2.resize(img, (width, height))
    orig_img = img.copy()

    # preprocess the image
    gray = cv2.cvtColor(img, cv2.COLOR_BGR2GRAY)
    blur = cv2.GaussianBlur(gray, (5, 5), 0)
    edged = cv2.Canny(img, 75, 200)

    # find and sort the contours
    contours, _ = cv2.findContours(edged, cv2.RETR_LIST, cv2.CHAIN_APPROX_SIMPLE)
    contours = sorted(contours, key=cv2.contourArea, reverse=True)
    # go through each contour
    for contour in contours:
        # approximate each contour
        peri = cv2.arcLength(contour, True)
        approx = cv2.approxPolyDP(contour, 0.05 * peri, True)
        # check if we have found our document
        if len(approx) == 4:
            doc_cnts = approx
            break

    # apply warp perspective to get the top-down view
    warped = four_point_transform(orig_img, doc_cnts.reshape(4, 2))
    warped = cv2.cvtColor(warped, cv2.COLOR_BGR2GRAY)
    final_img = cv2.resize(warped, (600, 800))

    # write the image in the ouput directory
    cv2.imwrite("output" + "/" + os.path.basename(img_file), final_img)
Summary
In this tutorial, we learned how to build a simple document scanner with OpenCV. Of course, the algorithm has its limitations but I tried to make this tutorial as simple as possible so that you don't feel overwhelmed.
For example, you can see that the quality of the scanned image is a bit poor. That's because we lose too much information when we resize the image.
Indeed, try to keep the original size of the image and you will get a better result.
Also, you can apply adaptive thresholding at the final step to get a 'black and white' scanned image.
If you want to learn more about computer vision and image processing then check out my course Computer Vision and Image Processing with OpenCV and Python.
You can get the source code for this article by clicking this link.
Previous Article
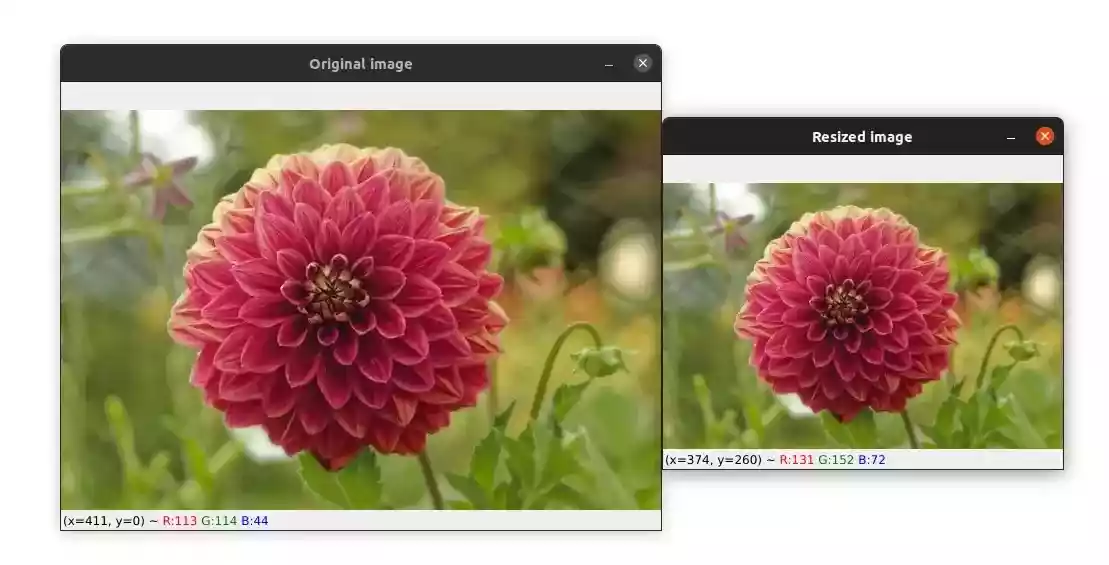
How to Resize Images with OpenCV and Python
Next Article
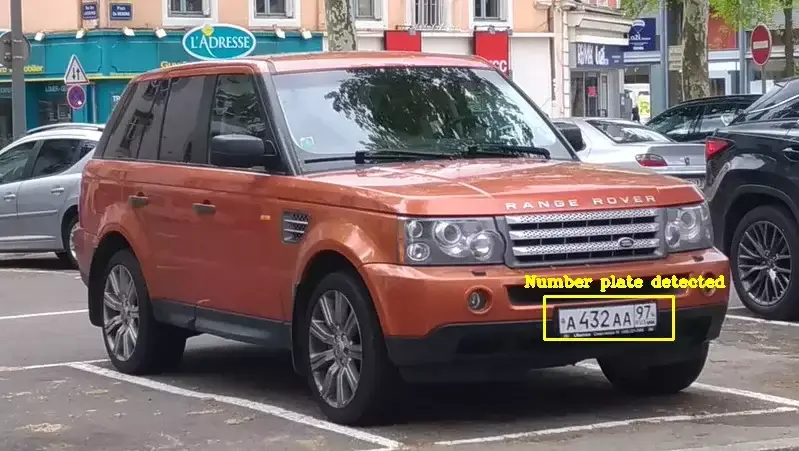
Number Plate Detection with OpenCV and Python
Hi yuval, I think it's due to a lighting problem or something like that.
Try different values for the Canny edge detector. Or try another image to see if the big outline is detected.
For example, try with the image provided in the tutorial.
Don't forget that we are using basic image processing techniques to detect the contours, so the algorithm has its limitations.
May 22, 2022, 11:30 p.m.
May 22, 2022, 6:18 p.m.