Please consider supporting us by disabling your ad blocker. Thank you for your support.
Please consider supporting us by disabling your ad blocker.
How to Use Sliding Windows for Object Detection in OpenCV and Python
Today, we will learn about the sliding window technique for object detection.
In object detection, sliding windows are used with a classifier to detect objects in an image. The classifier is trained on a set of images that contain the object of interest.
The classifier is then applied to the window, and if the classifier detects the object, the window is marked as containing the object.
The window is then moved to the next location and the process is repeated. This process is repeated until the entire image has been scanned.
Explanation of sliding windows technique for object detection
Sliding windows for object detection involve moving a window of fixed size over an image and classifying the contents of the window.
This process is repeated over the entire image, and the result is a set of bounding boxes around detected objects.
The size of the window and the step size, which determines how far the window moves with each step, are important parameters that affect the accuracy and efficiency of object detection.
The sliding window is combined with image pyramids to create robust object detectors that can detect objects of different sizes in an image.
While sliding windows are a simple and effective technique for object detection, they have some limitations. For example, they are computationally expensive to process large images with small window sizes, and they may miss small or partially occluded objects.

Implementing Sliding Windows Technique with OpenCV and Python
In this section, we will implement the sliding window technique for object detection using OpenCV and Python.
Create a new Python file, name it sliding_window.py, and add the following code:
import cv2


def sliding_window(image, step_size, window_size):
    # get the window and image sizes
    h, w = window_size
    image_h, image_w = image.shape[:2]

    # loop over the image, taking steps of size `step_size`
    for y in range(0, image_h, step_size):
        for x in range(0, image_w, step_size):
            # define the window
            window = image[y:y + h, x:x + w]
            # if the window is below the minimum window size, ignore it
            if window.shape[:2] != window_size:
                continue
            # yield the current window
            yield (x, y, window)
The sliding_window function takes three arguments:
- image: the input image.
- step_size: the step size of the sliding window.
- window_size: the size of the sliding window.
First, we get the height and width of the window and the image.
Then, we loop over the y-axis and x-axis of the image, taking steps of size step_size. The bigger the step size, the faster the sliding window will move across the image (and thus the computation time will be reduced) and the less accurate the object detection will be. On the other hand, the smaller the step size, the slower the sliding window will move across the image and the more accurate the object detection will be.
For each window, we check if the window is below the minimum window size. If it is, we ignore it. Otherwise, we yield the current window.
Now, let’s test our sliding window function. Add the following code to the end of the sliding_window.py file:
image = cv2.imread("1.jpg")
w, h = 156, 156

for (x, y, window) in sliding_window(image, step_size=40, window_size=(w, h)):

    # in our case we are just going to display the window, but for a complete
    # object detection algorithm, this is where you would classify the window
    # using a pre-trained machine learning classifier (e.g., SVM, logistic regression, etc.)

    clone = image.copy()
    cv2.rectangle(clone, (x, y), (x + w, y + h), (0, 255, 0), 2)
    cv2.imshow("Window", clone)
    cv2.waitKey(100)
The code above loads the image, sets the window size, and loops over the sliding windows.
For each window, we draw a rectangle around it and display the window.
The cv2.waitKey(100) function waits for 100 milliseconds before displaying the next window.
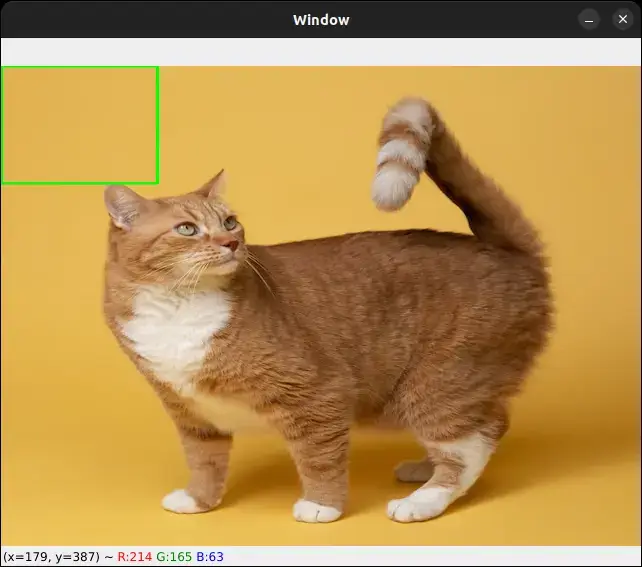
Run the sliding_window.py file and here is what we get:
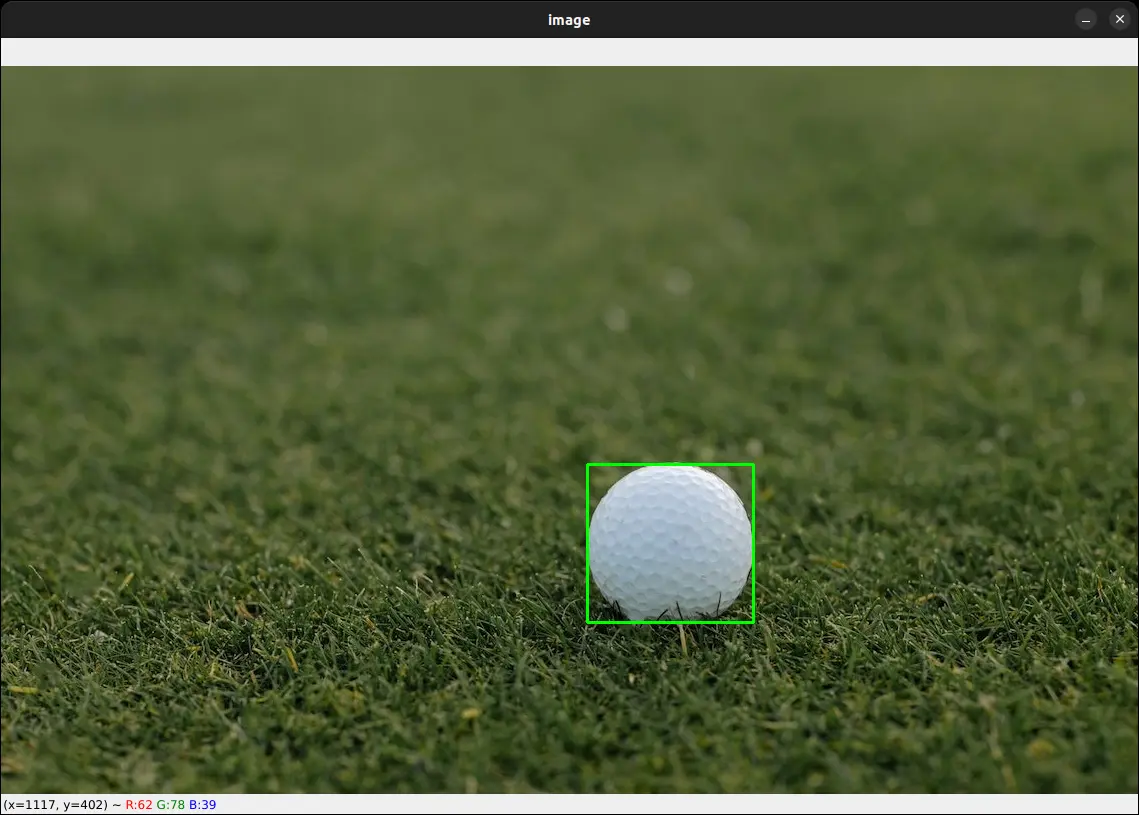
Combining sliding windows with image pyramids will give us the following output:
Conclusion
In this tutorial, we learned about the sliding window technique for object detection.
The sliding window technique involves moving a window of fixed size over an image.
This process is repeated over the entire image, and the result is a set of bounding boxes.
The size of the window and the step size are important parameters that affect accuracy and efficiency.
We also saw that sliding windows can be combined with image pyramids to create robust object detectors that can detect objects of different sizes in an image.
Of course, we need to train a classifier to detect the object of interest before we can use the sliding window technique, but that is a topic for another tutorial.
Hopefully, you get the idea of how to use sliding windows for object detection in OpenCV and Python.
If you have any questions, feel free to ask them in the comments section below.
The full code for this tutorial is available here
Thanks for reading!
Previous Article
Color-Based Object Detection with OpenCV and Python
Next Article