Please consider supporting us by disabling your ad blocker. Thank you for your support.
Please consider supporting us by disabling your ad blocker.
How to Read and Write Videos with OpenCV and Python

In this tutorial, I will show you how to read and write videos using OpenCV's built-in classes.
We will use:
- cv2.VideoCapture() to read a video.
- cv2.VideoWriter() to write a video.
This article is part 2 of the tutorial series on computer vision and image processing with OpenCV:
- How to Read, Write, and Save Images with OpenCV and Python
- How to Read and Write Videos with OpenCV and Python (this article)
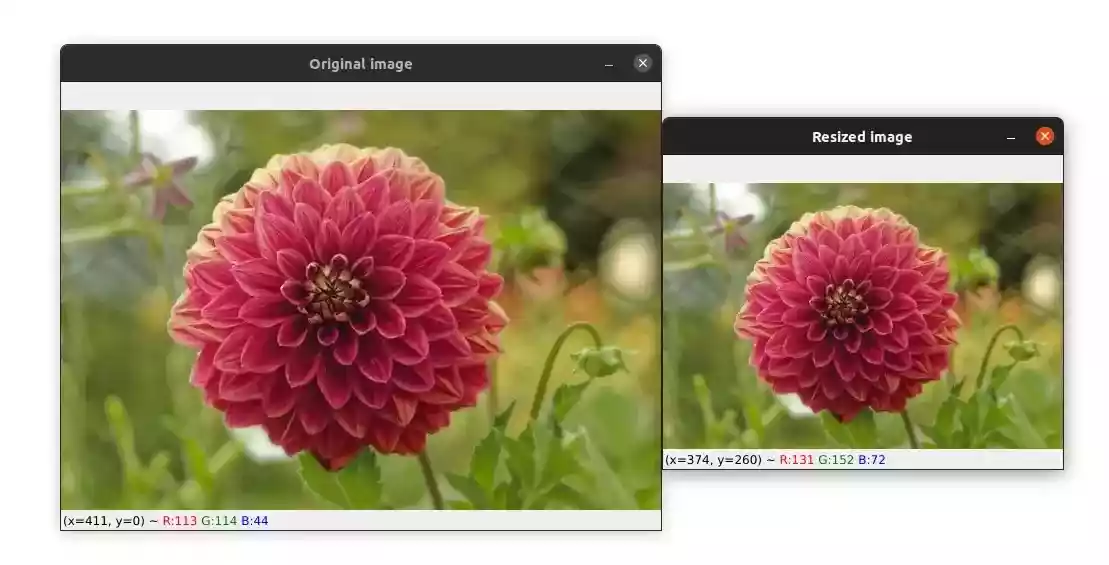
- How to Resize Images with OpenCV and Python
- How to Crop Images with OpenCV and Python
- How to Rotate Images with OpenCV and Python
- How to Annotate Images with OpenCV and Python (coming soon)
- Bitwise Operations and Image Masking with OpenCV and Python
- Image Filtering and Blurring with OpenCV and Python
- Image Thresholding with OpenCV and Python
- Morphological Operations with OpenCV and Python
- Edge and Contour Detection with OpenCV and Python
Read a Video (cv2.VideoCapture)
To read a video with OpenCV, we can use the cv2.VideoCapture(filename, apiPreference) class.
In the case where you want to read a video from a file, the first argument is the path to the video file (eg: my_videos/test_video.mp4).
In the case where you want to read a video from a web camera, the first argument must be the index of the web camera.
The index for the built-in webcam is 0. If you have two cameras, the index for the second one will be 1 and so on.
The second argument (optional) indicates the API preference. You can find more information about this argument on the documentation.
import cv2

video_cap = cv2.VideoCapture("skyscrapers.mp4")
The VideoCapture class returns a video capture object which we can use to display the video.
The class has several methods, for example, there is the get() method which takes a property identifier from cv2.VideoCaptureProperties and returns the value for the specified VideoCapture property.
Here is an example:
# returns the frame rate
fps = video_cap.get(cv2.CAP_PROP_FPS)
print("Frame rate: ", int(fps), "FPS")
>>> Frame rate:  30 FPS
here is a non-exhaustive list of methods with links to the documentation:
For your reference, see the documentation for the complete list of methods associated with the cv2.VideoCapture class.
The method that we are interested in is the read() method. This method returns a tuple where the first element is a boolean that indicates whether a frame has been grabbed or not. The second element is the next video frame.
So we can use this method in a while loop to read all the video frames. We can then use cv2.imshow() function to display each frame.
while True:
    # `success` is a boolean and `frame` contains the next video frame
    success, frame = video_cap.read()
    cv2.imshow("frame", frame)
    # wait 20 milliseconds between frames and break the loop if the `q` key is pressed
    if cv2.waitKey(20) == ord('q'):
        break

# we also need to close the video and destroy all Windows
video_cap.release()
cv2.destroyAllWindows()
When the video ends or if the user presses the q key, we close the video using the release() function and destroy all windows using the cv2.destroyAllWindows() function.
If you have a built-in webcam, just change the filename in the cv2.VideoCapture class to 0 and everything remains the same.
video_cap = cv2.VideoCapture(0)
Write a Video (cv2.VideoWriter)
If you want to save videos, you can use the cv2.VideoWriter(filename, fourcc, fps, frame_size) class.
The arguments are:
- filename: The name for the output video.
- fourcc: 4-character code of codec used to compress the frames.
- fps: Frame rate of the output video.
- frame_size: Size of the output video frames (width, height).
We can use the get() method to grab the width, height, and fps of the frames in the video:
# initialize the video stream
video_cap = cv2.VideoCapture("skyscrapers.mp4")

# grab the width, height, and fps of the frames in the video stream.
frame_width = int(video_cap.get(cv2.CAP_PROP_FRAME_WIDTH))
frame_height = int(video_cap.get(cv2.CAP_PROP_FRAME_HEIGHT))
fps = int(video_cap.get(cv2.CAP_PROP_FPS))

# initialize the FourCC and a video writer object
fourcc = cv2.VideoWriter_fourcc(*'XVID')
output = cv2.VideoWriter('output.mp4', fourcc, fps, (frame_width, frame_height))

while True:
    success, frame = video_cap.read()
    cv2.imshow("frame", frame)
    # write the frame to the output file
    output.write(frame)
    if cv2.waitKey(20) == ord('q'):
        break
Also, let's not forget to close the video file and the video writer using the release() function:
video_cap.release()
output.release()
cv2.destroyAllWindows()
If you use a frame size (frame_width, frame_height) that is not similar to the input video, you'll get a blank video as output.
If you check the content of the directory you will see that a video file named output.mp4 was added:
$ ls
output.mp4  read_write_videos.py  skyscrapers.mp4
Related articles:
- How to Crop Images with OpenCV and Python
- How to Read, Write, and Save Images with OpenCV and Python
Summary
In this tutorial, you learned how to use the cv2.VideoCapture class to read a video from a file or from a webcam.
You also learned how to use the cv2.VideoWriter class to write a video to disk.
If you want to learn more about computer vision and image processing then check out my course Computer Vision and Image Processing with OpenCV and Python.
Please feel free to leave a comment in the section below.
Previous Article
Transfer Learning with Keras, TensorFlow, and Python
Next Article